
Weeks #3, 4 & 5 – Class Info & Resources
Did you miss the previous week’s post? –> Go here
This post reflects classes on 9/25, 10/2 & 10/16
***No class on 10/9***
Projects / Assignments #1 & #2 are underway! We will dig into everyone’s progress during our class-time and share our process. Please get into the habit of showing your assignment’s work in progress each week (or at least every other week). Students should be prepared to present and show both their research and work in progress / process with a visual presentation during our class-time. This will help us develop our ideas, language, presentations skills and reception of creative and critical feedback.
**Assignment Submissions Reminder – When you complete each assignment, please e-mail me to let me know – always add your sketches, production files (.psd or .Ai) as well as a .JPG version of the assignment and your research into your folder in our shared Google Drive (link on canvas). Please label finished work properly by indicating that it is a “Final” file submission – here is an example below:
Ryan_Seslow_Assignment#1-Final.psd
Ryan_Seslow_Assignment#1-Final.JPG
Ryan_Seslow_Assignment#1V2-Final.JPG (V2 for “Version 2”)

Lets talk more about Assignment/ Projects #1 & #2 :
Resources:
( Assignment / Project Details / Info can also be found on the Assignments Page Here )
Working with Photoshop, Creating Composite Images, Working with Adobe Illustrator – creating vector graphics and applying typography, Adobe After Effects for basic motion graphics! (Exciting!)
**What artists & designers are inspiring your work on these projects?
Feel free to add links to the comments section below!
Below – a series of helpful tutorials on Compositing, Layer Mask, Blending Images & Lighting Effects – Please watch and follow along with each tutorial to help practice your craft.
Compositing / Blending Images
Selection Tools & Smoother Edges
Lighting effects – Dual Sided Lighting Effect
Lighting Effects – Turn Day into Night
More Photoshop Lighting Effects Examples
Neural Filters in Photoshop 2022 are amazing indeed! (see above)
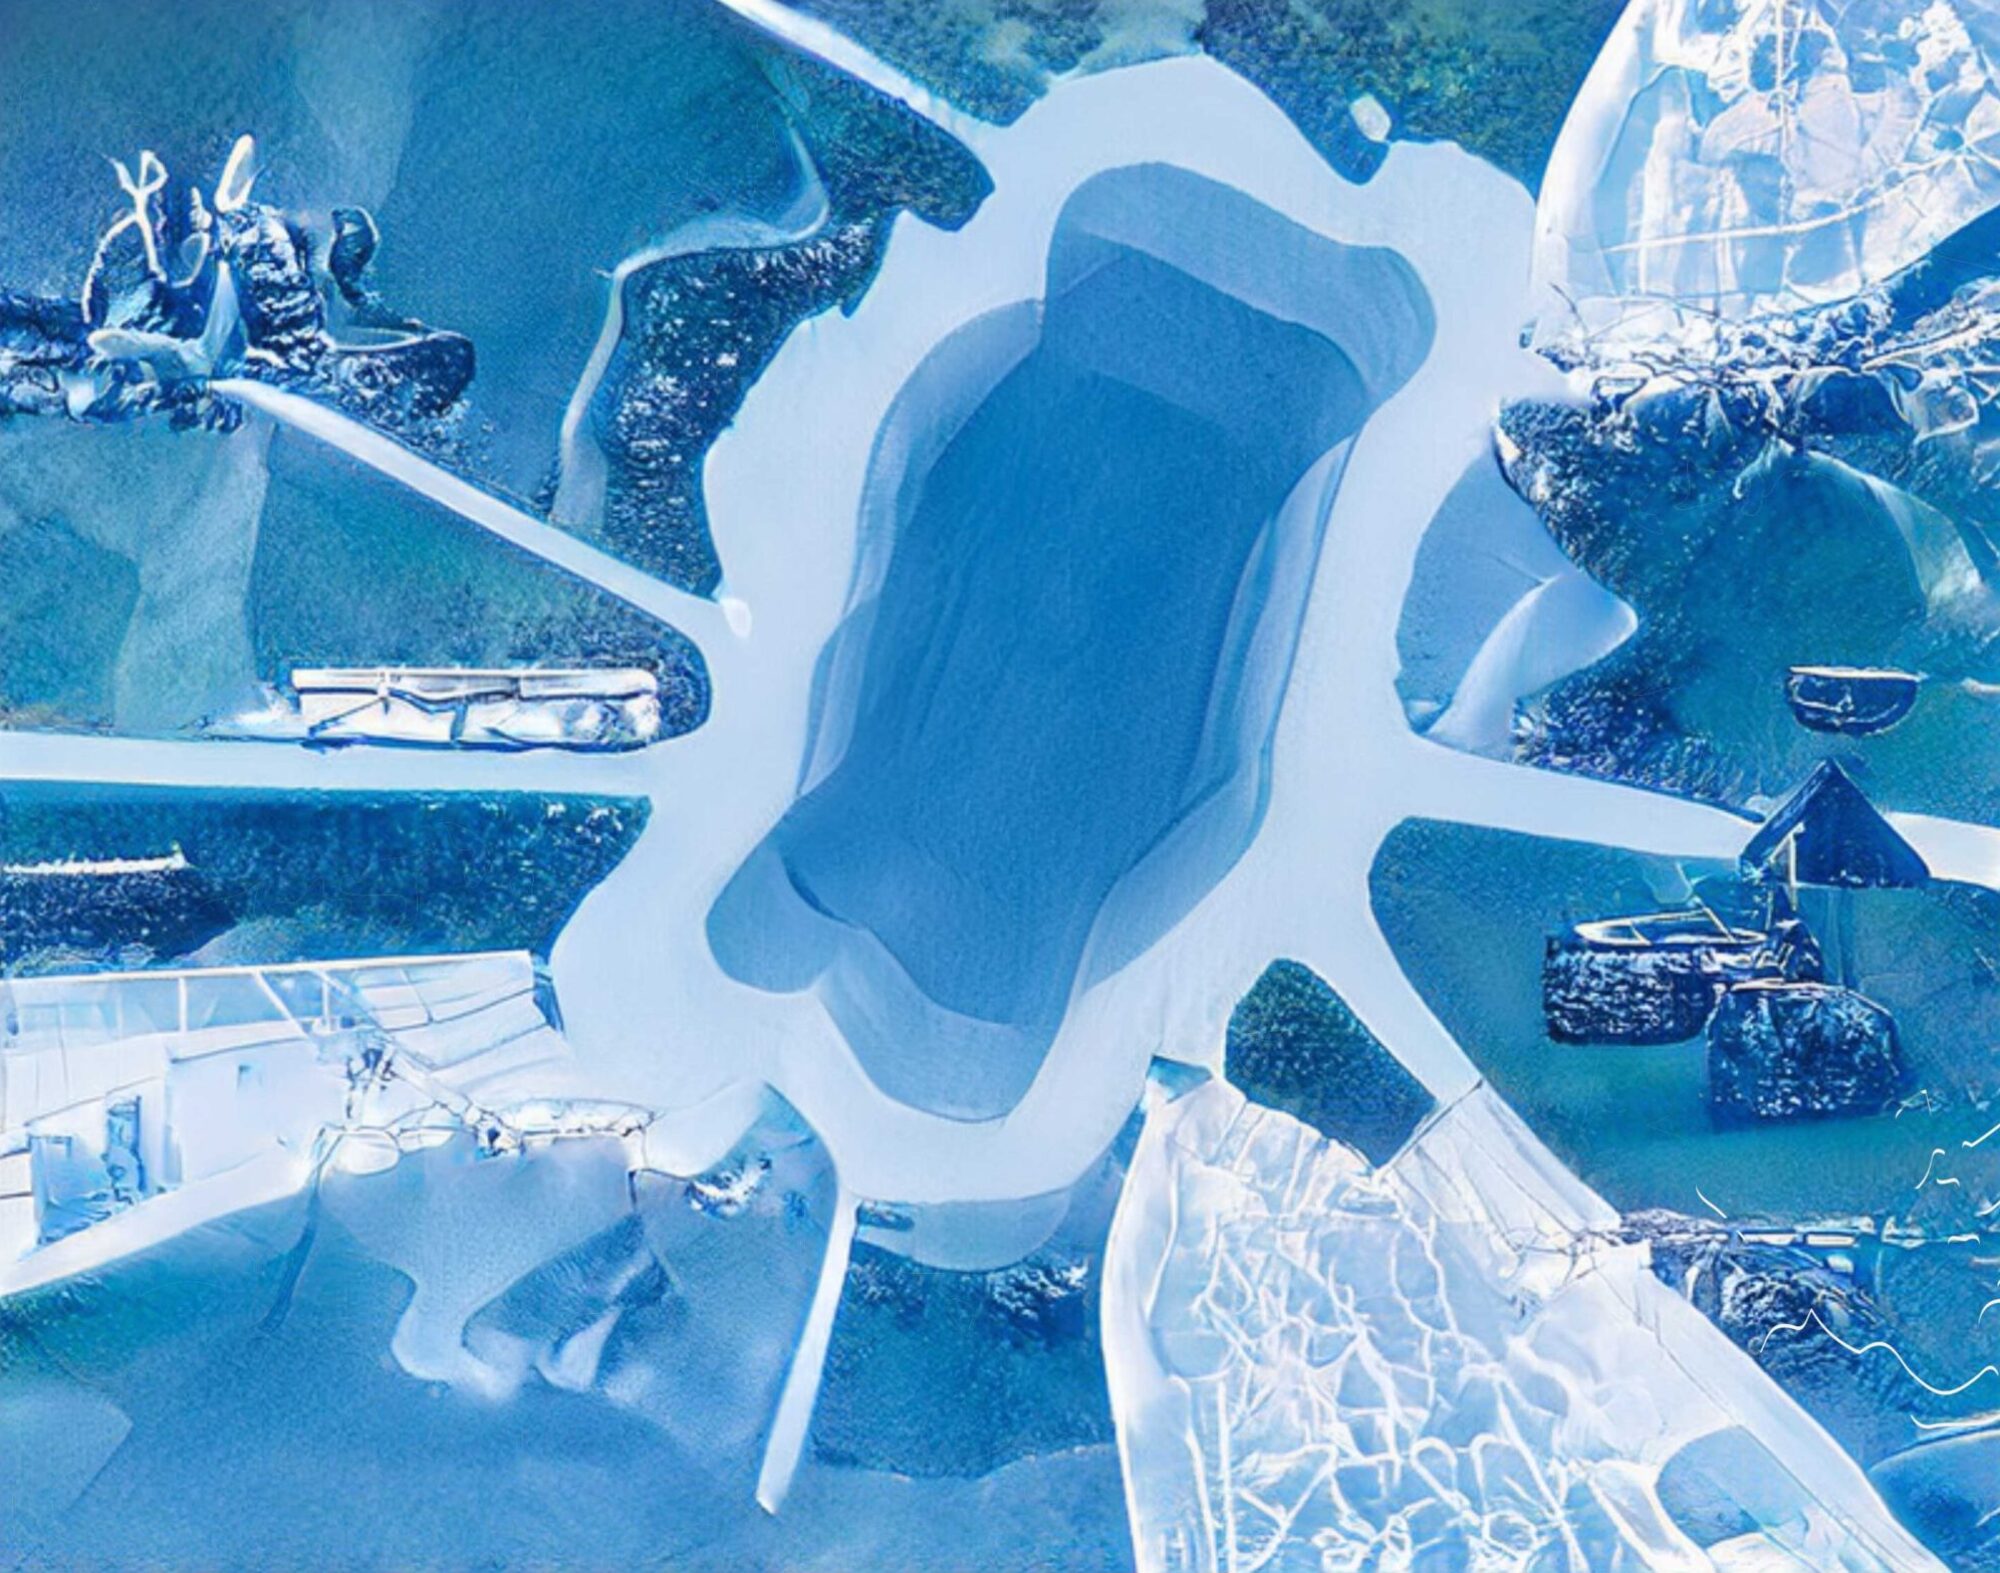
Above – An animation of various graphic assets composed in Adobe After Effects – This week in class we will take a brief tour of Adobe Illustrator and After Effects and the potentials of adding basic motion graphics to your Invisible City Map – here is an example made from the various individual assets from my static map..

***********************************************************
Assignment #2
Invisible City – Your Home Planet / Satellite World / Composite Images:
Class Lecture/Lessons – Framing Views + Light Conditions / Sketching>Perspective>Storyboard->Textures->Aesthetics
Create a set of composite images/views of the planet / moon / satellite world on which your Invisible City is located. Project 2 is focused on creating a set of single images, a series of landscape views of your invented Invisible City on the chosen planet, moon, satellite or orbital heavenly body you selected, reimagined or invented. Continue mining your Invisible City text for clues to develop and expand your world view elements and details. Use and expand upon the information developed in assignment #1 and source materials.
Demonstrations will be shared in class, using the knowledge on lighting and tools learned on compositing, combine multiple objects in photoshop / Illustrator to begin developing scenes of different times of day and seasons in your developing invisible city.
Step 1: Continue the ‘closer reading’ of your Invisible Cities text. Make notes, cut and paste clues directly from the text, define, shape and expand upon the details, clues and information developed from the selected Invisible City text. Consider multiple, important/relevant locations in the developing Invisible City and new world. Establish these locations and points of view in your map.
Step 2: Develop the selected views in your analog/digital sketch book and image archive. Begin by developing small thumbnail sketches. These sketches can begin as rough outline drawings and combine paste ups of existing images. Create 4-6 new composite views to develop the important locations in your developing Invisible City. Consider the view/camera/frame position/perspectives
Step 3: Continue developing and using your page/screen/guidelines to establish a horizon line / eye level in relationship to the top, bottom, left and right boundaries of your image/frame/screen. Expand and enlarge these to inform your final scaled digital layouts. Use your guidelines as an image scaffolding to organized, position and relate your Invisible City-scape elements for each selected/constructed view.
Step 4: Create 4-6 views from your Invisible Cities closer readings, maps and sketches and developing a range light climate and atmosphere conditions for different times of day and night, dawn, dusk, bright sunny?
Reflected moonlight? Overcast / Cloudy little or no shadow. Focus on the different light, dark, shadow, shade and color changes, experiences, and expressions of each view and light environment you select.
Digital Tools:
Light Conditions – Layers – Grid / Horizon Line / Perspective lines / Light Source location / Hue / Saturation 2D Map Geographies Invisible City Composite Collage / etc.
Composite multiple images together in Photoshop (+ Illustrator + After Effects) demonstrating knowledge of layers, masks, blending modes, and adjustment layers. Use the combination of tools, take the time to create an artwork.
************************************************************
Artistic Inspiration – Check out the work of: Matthew Barney

Matthew Barney – Wiki
Image search results for Matthew Barney


